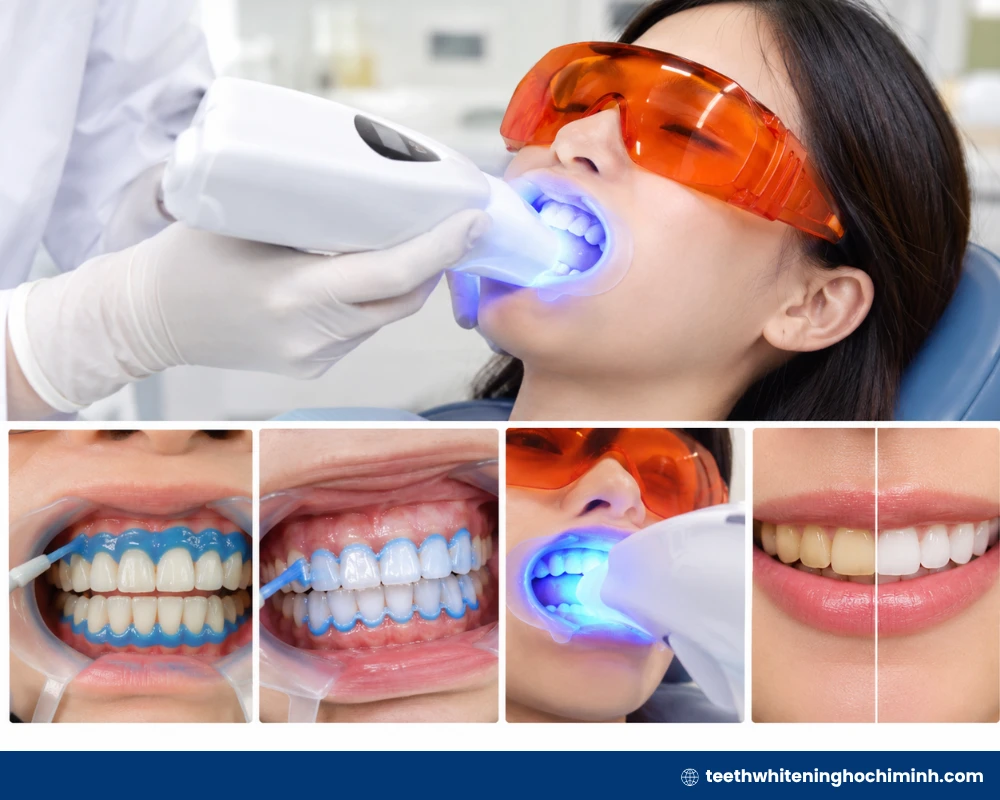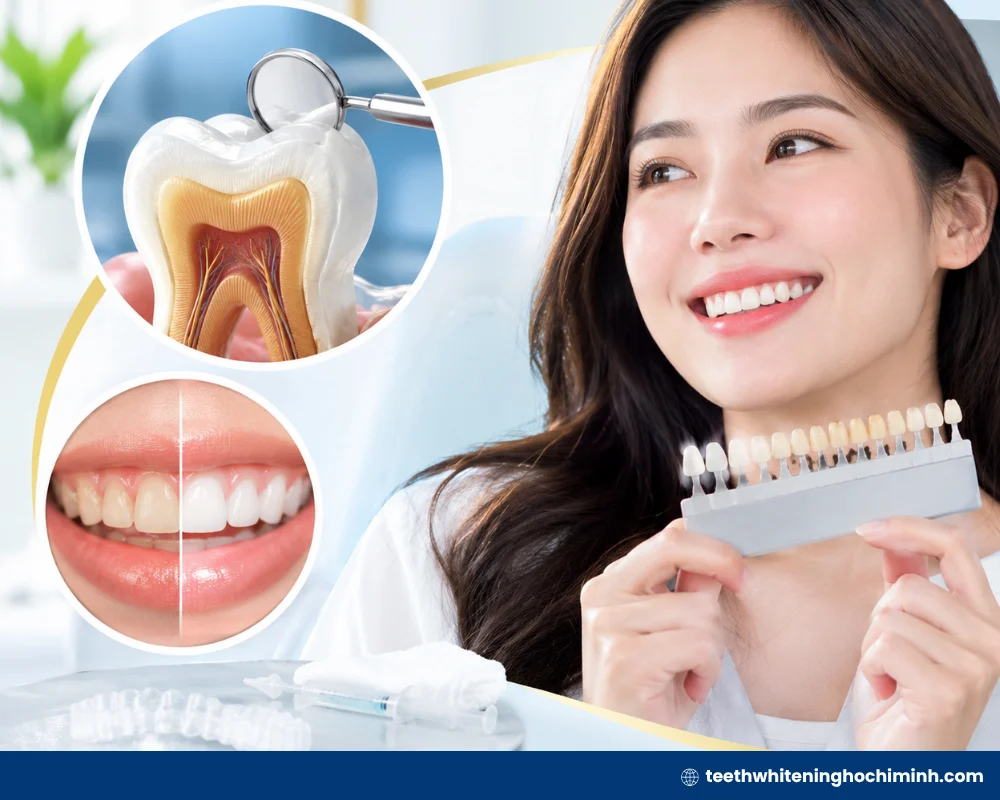
Choosing the right teeth whitening kit for sensitive teeth doesn’t have to mean choosing between a brighter smile and painful gums. With the right ingredients and format, you can whiten safely and comfortably. Ready to go further? Explore our full guide on Teeth Whitening in Ho Chi Minh City with us.
How to choose a whitening kit for sensitive teeth
Not every product on the shelf is built for delicate teeth. A good teeth whitening kit for sensitive teeth balances real whitening power with ingredients that protect your enamel and nerves at the same time.
Hydrogen vs. carbamide peroxide
The active ingredient is the biggest factor in how much discomfort a teeth whitening kit for sensitive teeth causes. Hydrogen peroxide acts fast, while carbamide peroxide releases slowly, making the process much gentler on nerves.
| Feature | Hydrogen Peroxide | Carbamide Peroxide |
| Speed of action | 3 to 5 days | 10 to 14 days |
| Typical concentration | 3% to 10% | 10% to 35% |
| Sensitivity risk | Within 1 to 2 sessions | Usually after day 5, if at all |
| Best for | You need results fast for an event | You want gradual whitening with less pain |
Desensitizing ingredients to look for
A truly effective teeth whitening kit for sensitive teeth doesn’t rely on peroxide alone. It pairs whitening power with ingredients that calm the nerve and rebuild the enamel surface:
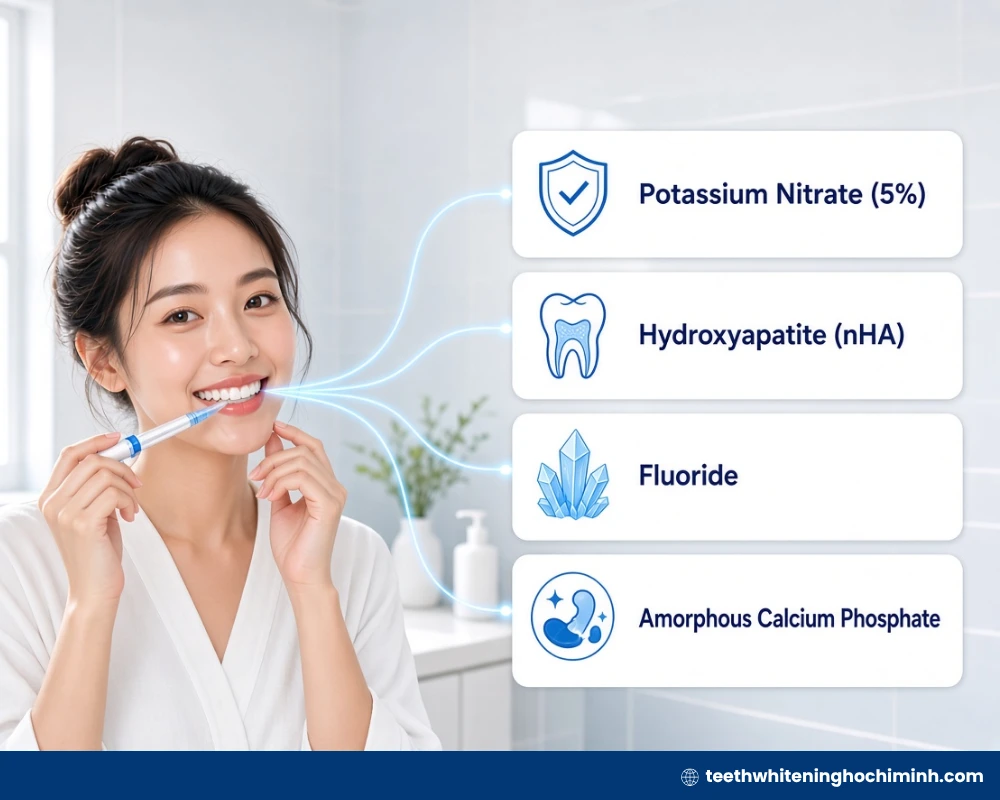
- Potassium Nitrate (5%): The exact ingredient in Sensodyne toothpaste, it numbs the nerve inside the tooth within 2 to 3 uses.
- Hydroxyapatite (nHA): Fills the microscopic tubules in enamel that let cold air and liquid trigger pain.
- Fluoride: Hardens enamel over 1 to 2 weeks of consistent brushing before whitening starts.
- Amorphous Calcium Phosphate: Rebuilds mineral loss right after a whitening session, cutting next-day sensitivity.
Format type – Strips, trays, pens, or LED kits?
Beyond the gel, delivery format decides how much peroxide touches your gums. Strips, trays, pens, and LED add-ons each carefully balance speed, cost, and gum irritation risk for a teeth whitening kit for sensitive teeth.
| Format | Session Time | Gum Contact Risk | Cost per Treatment | Pick This If |
| Strips | 30 to 60 min | Medium, edges shift | $1 to $3 | You want a no-fuss daily routine |
| Trays (boil-and-bite) | 15 to 30 min | Low, molds to teeth | $2 to $5 | You want fewer gum flare-ups |
| Trays (custom, dentist-made) | 15 to 30 min | Very low | $8 to $15 | You whiten more than twice a year |
| Pens | 5 to 10 min | Low, targeted only | $1 to $2 | You need a quick fix on one or two teeth |
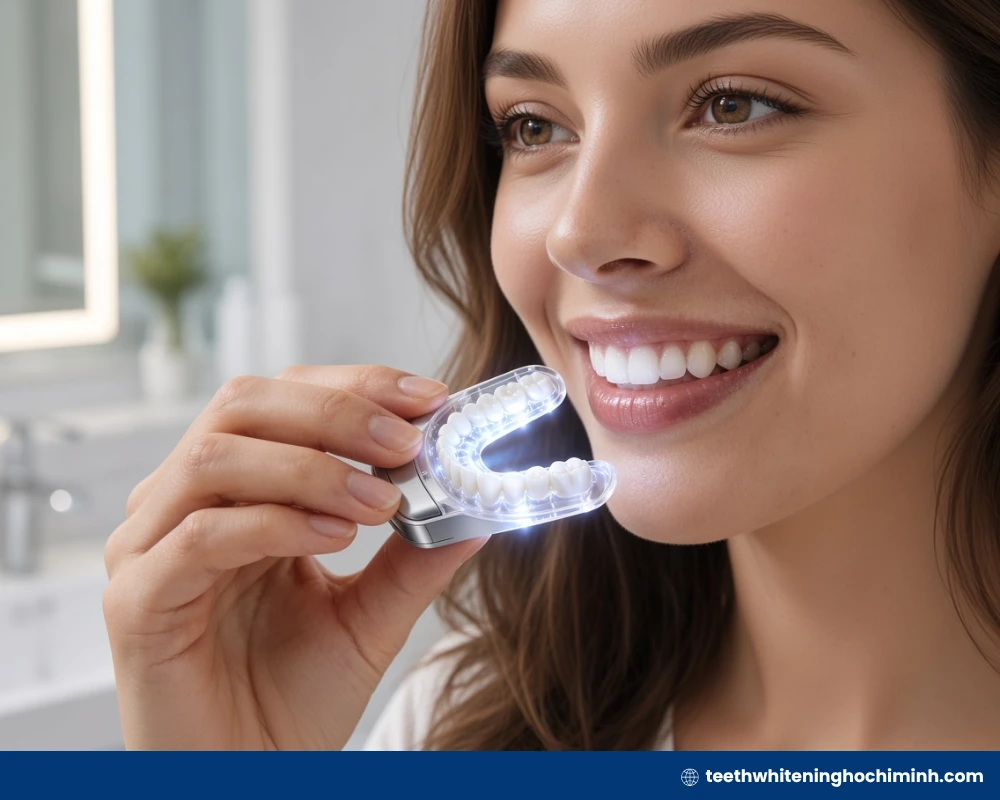
| LED add-on kits | 10 to 20 min | Same as base tray/strip | $3 to $6 | You want fewer sessions for the same result |
Custom or boil-and-bite trays cut gum contact the most, making them the top format for a teeth whitening kit sensitive teeth can handle without daily irritation. Strips remain the fastest to start using straight out of the box.
Best teeth whitening kit for sensitive teeth
To find the best teeth whitening kit for sensitive teeth, we compared products on whitening speed, sensitivity control, and cost. Here’s the comparison table, followed by five top picks for reliable, gentle results.
Opalescence PF 16%
This pick earns the title of best teeth whitening kit sensitive teeth users trust most because Opalescence PF 16% pairs carbamide peroxide with potassium nitrate and fluoride in one syringe. Results build over 10 to 14 days without the sharp discomfort stronger single-gel formulas cause.
- Pros: Visible results in 10 to 14 days, potassium nitrate and fluoride included in every application, high water content prevents dehydration and shade relapse.
- Cons: Slower than 20%+ peroxide kits, requires a custom or boil-and-bite tray to use correctly.
Hismile PAP+ Whitening Strips
For readers whose teeth react to any peroxide at all, Hismile PAP+ Whitening Strips swap bleaching for PAP, an enzymatic stain-lifter that breaks down coffee, tea, and wine discoloration fast. This teeth whitening kit for sensitive teeth option never touches the tooth’s inner nerve layers.
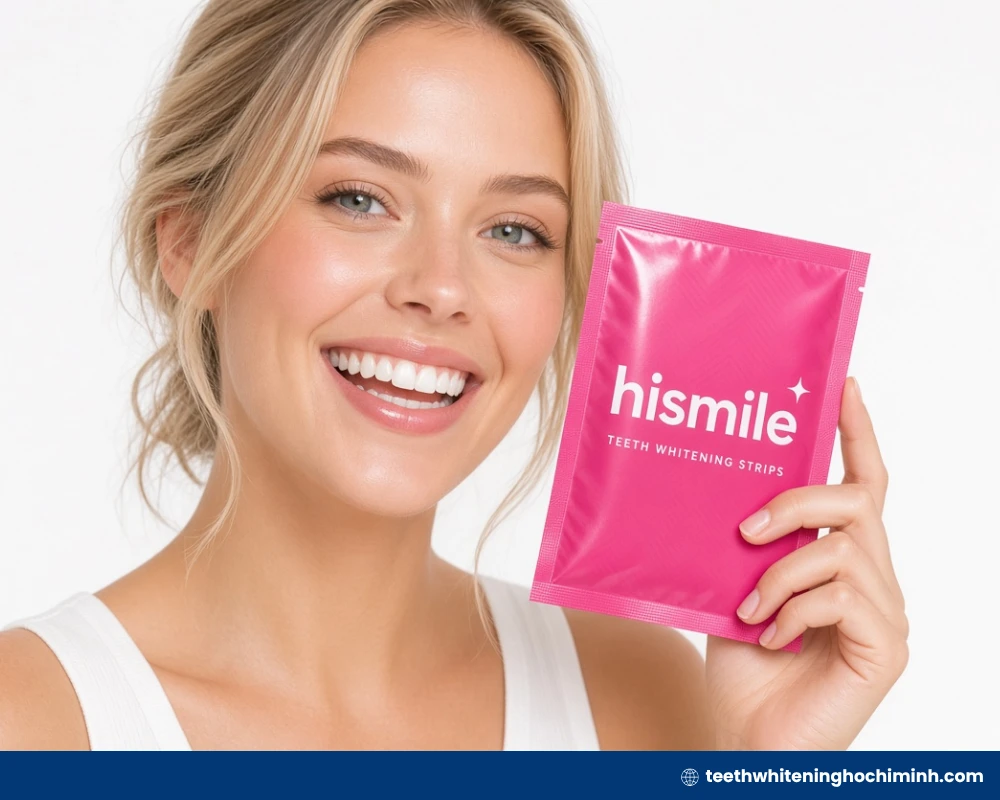
- Pros: Zero peroxide-related discomfort, safe for daily use, gentle enough for people with exposed dentin.
- Cons: Won’t shift deep or yellow-based discoloration, results plateau after about 2 shades.
Opalescence custom tray system
A dentist-made custom tray from the Opalescence Custom Tray System uses a mold of your exact bite, so the 20% carbamide peroxide gel stays on tooth surfaces instead of gums. This keeps irritation lower than any strip or boil-and-bite tray on this entire list today.
- Pros: Precision fit eliminates gum overflow, gel refills cost $20 to $30 and last for months, reusable for years.
- Cons: $80 to $150 starting cost, requires a dental visit or impression kit for accurate fit.
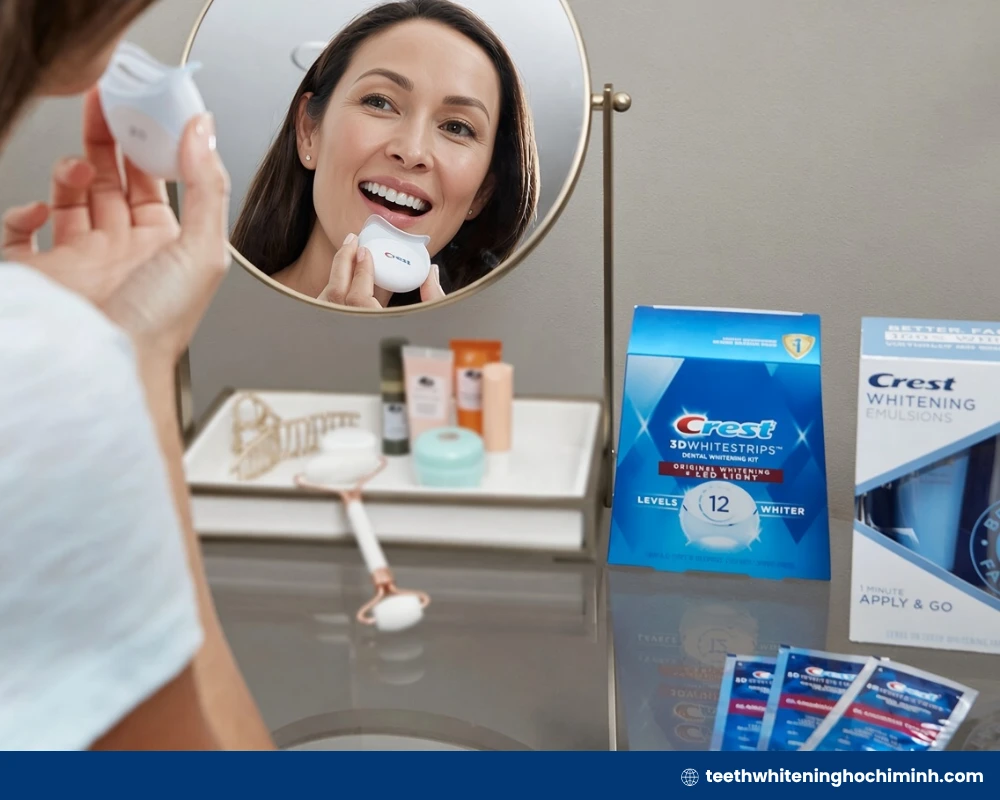
Crest 3D Whitestrips Sensitive
At nineteen to thirty dollars for a two-week supply, Crest 3D Whitestrips Sensitive uses 5.25% hydrogen peroxide, low enough to limit sensitivity while still lifting several visible shades fast. Each pre-measured strip delivers consistent gel coverage for one full daily whitening cycle without any mess.
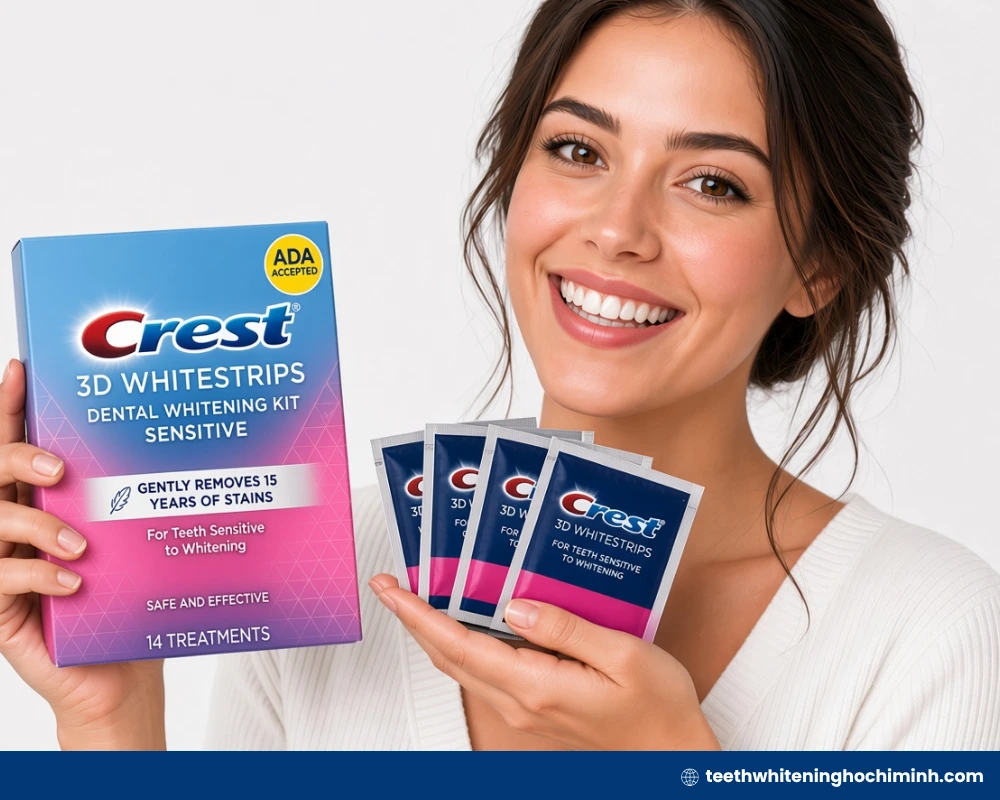
- Pros: Under $2 per treatment, no fitting or mixing required, ADA-accepted formula.
- Cons: Strips don’t fully cover back molars, edges can shift and touch gum tissue if applied loosely.
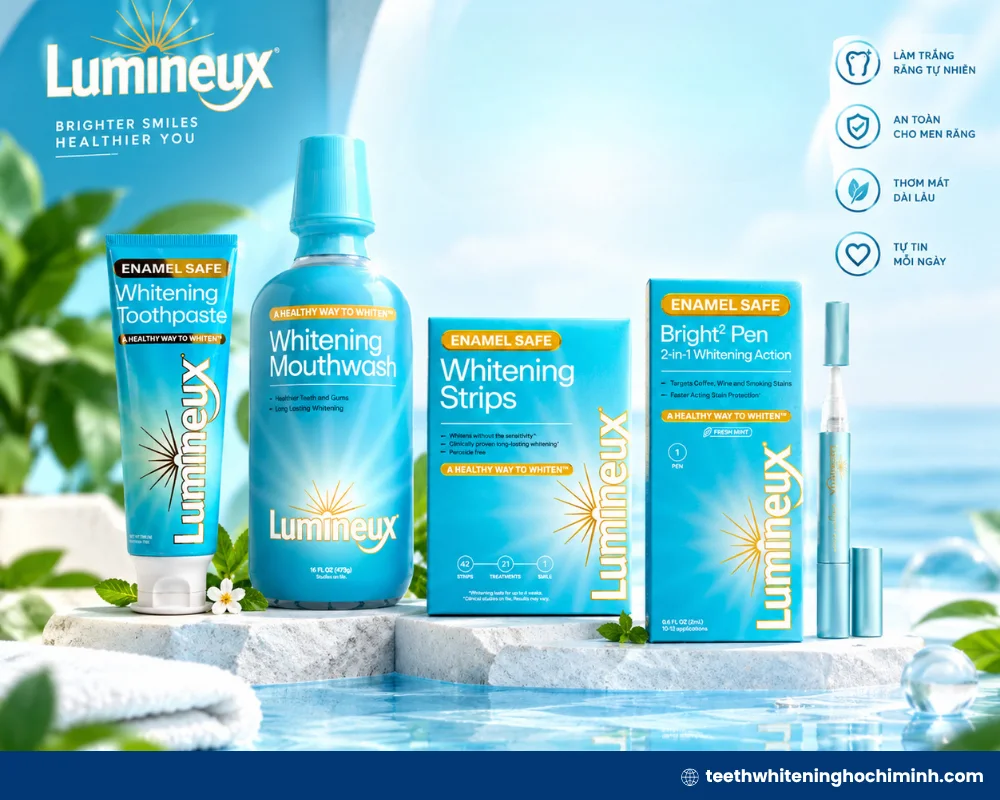
Lumineux Bright² Whitening Pen
Built with dead sea salt, coconut oil, and sage oil instead of peroxide, the Lumineux Bright2 Whitening Pen targets spot corrections rather than a full whitening cycle every single day. It works well for touching up front teeth before a photo or important event happens.
- Pros: Fits in a pocket or bag, dries in under a minute, precise brush tip avoids gums.
- Cons: Not suitable for lifting deep or yellow-based stains, weaker effect than a peroxide-based pen on heavy discoloration.
How to use a sensitive-teeth whitening kit safely
Following the exact order below prevents uneven gel contact and reduces the odds of nerve irritation when using a teeth whitening kit for sensitive teeth. Skipping steps, especially rinsing and aftercare, is the most common cause of avoidable discomfort.
Step-by-step application
Following the exact order below prevents uneven gel contact and reduces the odds of nerve irritation. Skipping steps, especially rinsing and aftercare, is the most common cause of avoidable discomfort.
- Step 1 – Brush gently with a soft-bristle toothbrush 30 minutes before applying any product.
- Step 2 – Apply only the amount specified on the package. Extra gel does not whiten faster, it only increases contact with gums.
- Step 3 – Set a timer for the exact duration listed, usually 15 to 30 minutes. Stop immediately if you feel sharp pain.
- Step 4 – Remove strips or trays slowly, pulling away from the gum line first to avoid tugging tissue.
- Step 5 – Rinse with lukewarm water for 30 seconds to clear all residual gel from your mouth.
- Step 6 – Apply a pea-sized amount of desensitizing or fluoride toothpaste directly to teeth and leave it for 2 minutes before rinsing.
Frequency and duration
Frequency depends entirely on the format you’re using, not on how fast you want results from your teeth whitening kit for sensitive teeth. The table below shows safe limits for each product type.
| Product type | Recommended frequency | Max Session length |
| Strip | Once daily for 14 days | 30 to 60 minutes |
| Tráy | Every other day if sensitivity appears, otherwise daily | 15 to 30 minutes |
| Pens | 1 to 2 times per week for touch-ups | 5 to 10 minutes |
| LED kits | 3 sessions per week for 2 weeks | 10 to 20 minutes |
Going beyond these limits does not speed up whitening. It only raises the chance of gum irritation and rebound sensitivity within 24 hours.
Common mistakes to avoid
Most sensitivity complaints trace back to a handful of avoidable habits, not the product itself. Recognizing these mistakes early prevents unnecessary pain during treatment.
- Leaving gel on 45+ minutes instead of the labeled 20.
- Skipping desensitizing toothpaste right after rinsing.
- Applying gel to gums sore from a cleaning within 48 hours.
- Layering whitening mouthwash on top of strips or trays same day.
- Continuing daily sessions after pain starts, instead of pausing 2 to 3 days.
Tips to reduce sensitivity
A smart routine around your teeth whitening kit for sensitive teeth matters as much as the product itself. Small habits before and after each session can turn a painful experience into a comfortable one.
Pre-treatment routine
Switching to fluoride or potassium nitrate toothpaste 14 days before using a teeth whitening kit for sensitive teeth strengthens enamel in advance. This one step can cut sensitivity during treatment by nearly half.
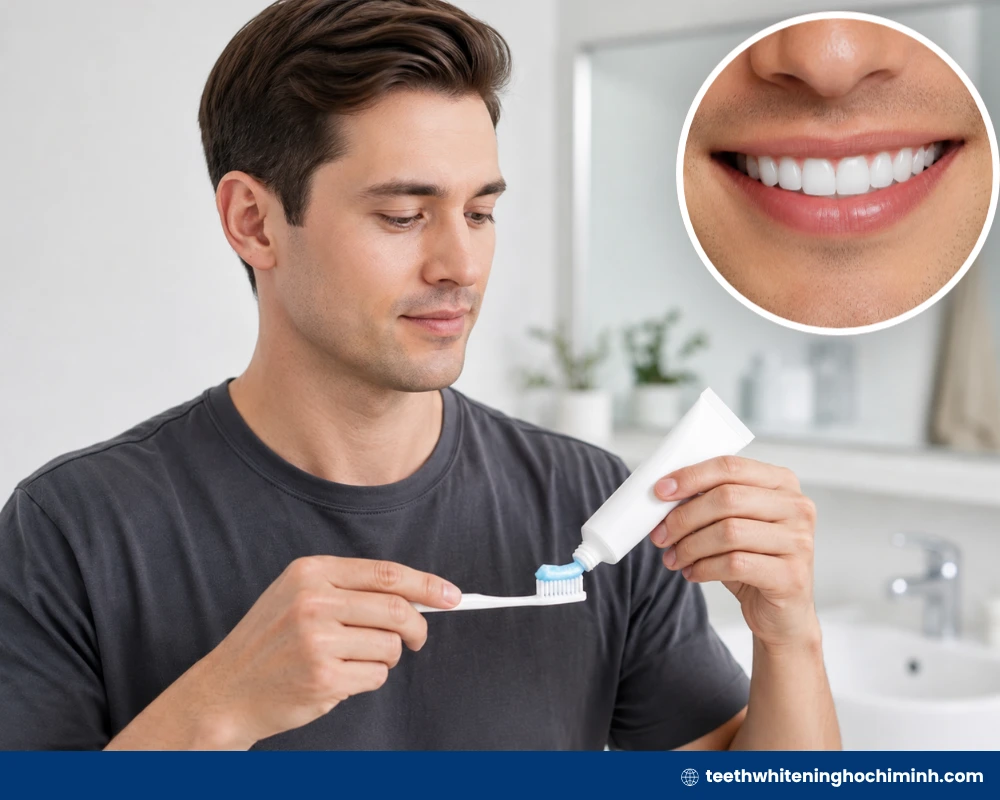
- Brush twice daily with 5% potassium nitrate or fluoride toothpaste.
- Skip whitening mouthwash during this 14-day window, it dries and irritates enamel.
- Avoid abrasive whitening toothpaste with visible grit, it wears down enamel.
Post-whitening care
What you do in the hours after a session decides how much sensitivity carries into the next day. These four habits limit nerve exposure and speed up recovery between treatments.
- Avoid coffee, ice water, and citrus for 24 to 48 hours after.
- Apply desensitizing toothpaste for 3 to 5 days post-treatment.
- Leave at least 48 hours between sessions, even with daily-use kits.
- Drink water throughout the day to keep saliva flowing and buffer enamel.
When should you see a dentist instead?
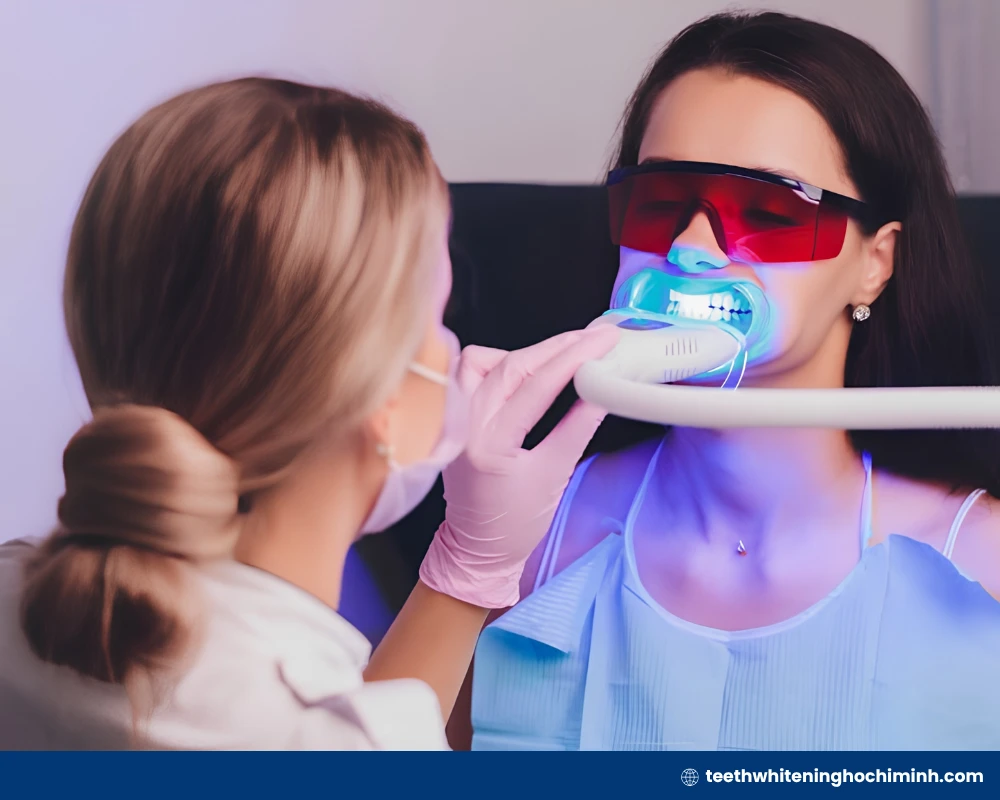
See a dentist instead of a home teeth whitening kit for sensitive teeth if pain lasts more than 2 days after a single session, if you have veneers or crowns that won’t lighten with OTC gel, or if 2 full boxes of strips produce no visible shade change. Professional in-office treatment uses stronger, dentist-monitored formulas that home kits are not permitted to match.
Conclusion
A comfortable smile starts with the right teeth whitening kit for sensitive teeth. The real ultimate solution pairs proven ingredients with gentle formats and proper use. Want expert reviewed picks? Visit Teeth Whitening In Ho Chi Minh to explore more.